Get Viktor’s Lightroom Rapid Editing System for Travel Photography Course 50% off now at SnapnDeals for a limited time only – February 9th-23rd, 2016.
A few years ago, just as I returned with 5,000 brand new photos from a driving trip to California, Utah and Nevada, I realized that I needed a completely new editing workflow. Two months later, I was not even close to being done with editing.
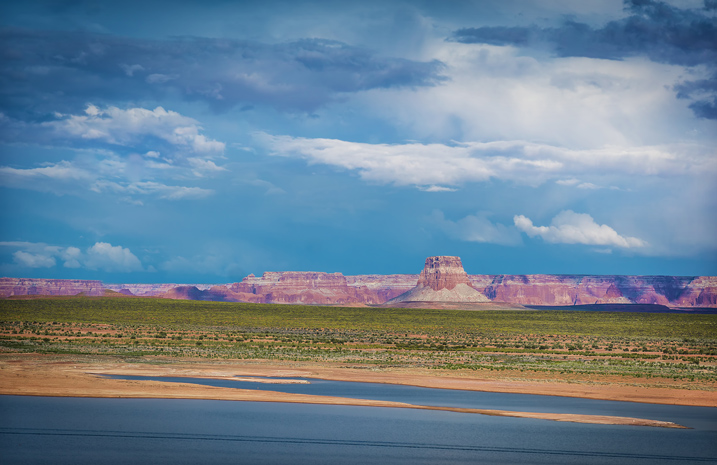
I spent the following year or so testing different approaches and systems, with the main goal to streamline, simplify, and speed up the entire process – from the moment the picture is taken, until it is published and safely backed up to the cloud.
After implementing my new workflow, using it for over a year and tweaking it along the way, I can now process and edit thousands of photos in a matter of hours. I would love to share my new workflow with you.
On the Road
The biggest change in my editing workflow happened when I practically stopped editing photos while traveling. Instead, I concentrated only on shooting, rather than wasting time on anything else.

By the end of each day on the road, I import all new photos to a temporary Lightroom catalog, and during the import, I select the option to generate Smart Previews. This allows me to have access to all my photos through Lightroom Mobile on my tablet. I also rename all the images using my renaming template.

After renaming, my photos then have the following naming structure:
- 20160201_AtlanticTrip_0001.RAW
- 20160201_AtlanticTrip_0002.RAW
- 20160201_AtlanticTrip_0003.RAW
During initial import, I also apply top level tagging based on the location, or type of photos. For example, I might apply very generic tags like “Canada” and “New Brunswick.”
But, even before I import the photos to Lightroom and generate the Smart Previews, I always have another option to access my images. Since switching to mirrorless, I can now connect to my camera using my tablet or smartphone at any time, grab a few images for a quick edit in Snapseed, and post them to social media. As I mentioned before, my editing workflow is minimal on the road.
At Home
The real processing work starts as soon I am home. Sometimes, however, it can start even sooner. If it is a long flight home, I might cull some photos on the plane using Lightroom Mobile, with the main purpose simply to refresh my memories of the trip and make notes.
Import
At home, I connect my master travel external hard drive to my desktop computer, and use the Lightroom option “Import from Another Catalog.” I then bring all the new photos to my main catalog and generate full-size previews for all of them. Because it typically takes a while to import thousands of RAW files and generate full-size previews, I often start the process before going to bed, so that when I wake up in the morning everything is ready.
Culling
Culling is the process of selecting the best photos for editing, and rejecting the bad ones. For a long time, I struggled with this step, as it was always time consuming, and quite often I would get distracted with an interesting image and start editing before finishing my selection.
Lightroom has multiple organizational features for culling that can, to be honest, be overwhelming at times. Features include: Flagging, Starring, Color Tagging, Collections, Smart Collections, Quick Collection. In the past, I tried to use all of them to design an elaborate system that was impossible to sustain for very long. Each time I failed with one system, I would come up with an even more complex scheme. Eventually, I recognized that it was time to simplify the process.
The inspiration for my new culling strategy was from the book, The ONE Thing, by Gary Keller. It states that in order to be 100% efficient you should concentrate on only one thing at a time. In other words, multitasking is evil. Inspired by the book, my process soon changed. My first goal, after importing new photos to Lightroom, is now to remove all the bad shots, the ones that can never be used (out of focus photos, for example). I quickly go through all my photos and use the keyboard shortcut “X” to flag all rejected shots. The process goes very fast even if I have thousands of photos because I concentrate on only one task.
After I finish marking the photos, I immediately delete the rejected files so they do not go to my backup system.
The next step is my favorite. I go through the photos again, and with the help of the keyboard shortcut “P” (P is for PICKED), I flag all the photos that have the potential to be processed and published (keepers). Once again, I only concentrate on a single task as I am not trying to grade picked photos or set star value. This approach allows me to identify the keepers at an incredible and efficient speed.
The next step is to make the keepers pretty.
Rapid Editing
The development of a new Lightroom editing approach was triggered by the realization that 80-90% of the edits I perform in Lightroom are identical for every edited image, and only 10-20% contributes to the uniqueness of any given photograph. The rationale was to automate the 80-90% of the editing process to save time on repetitive tasks.
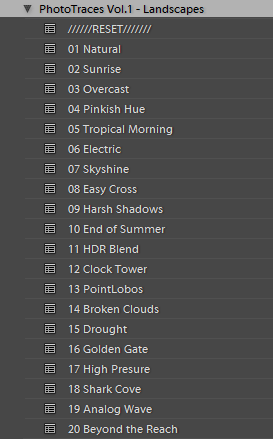
In order to automate the editing, I created a two-level preset based system, one that I call Lightroom Rapid Editing. Lightroom Rapid Editing allows me to overcome the limitation of the presets, such as when any given preset produces a very different result depending on the level of exposure, lighting conditions, shadows and the dynamic range of the scene. With this two-level approach, I am able to compensate for various lighting conditions without touching the main Lightroom editing tool.
Level 1 – Style Presets. The presets that define the “LOOK” and style of the photograph. For example: cool or warm, cross processed or natural, contrasted or soft.
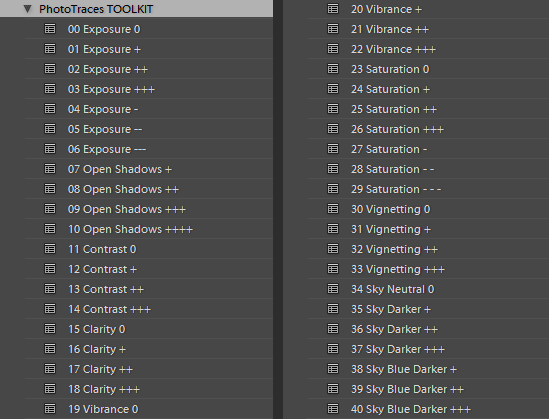
Level 2 – Adjustment Presets. The presets that allow fine-tuning of a photo without altering the style, and without the use of Lightroom editing tools. I named them the TOOLKIT.
Here is a real life scenario
When I returned from a driving trip to Atlantic Canada, I brought back over a thousand new photos. After selecting around 10 keepers, I wanted to edit them using a similar style, and then publish them as the Atlantic Series on my travel photography blog. I started with my favorite photo from the selection.
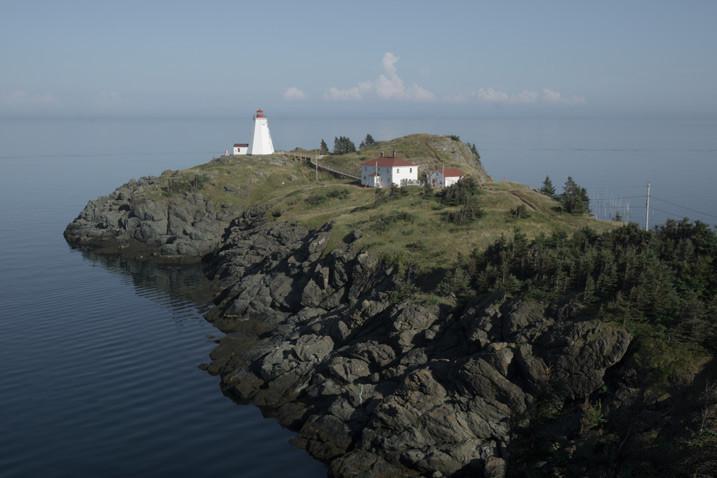
I began with Level 1 of Rapid Editing by applying the NATURAL style preset to the selected image (above).
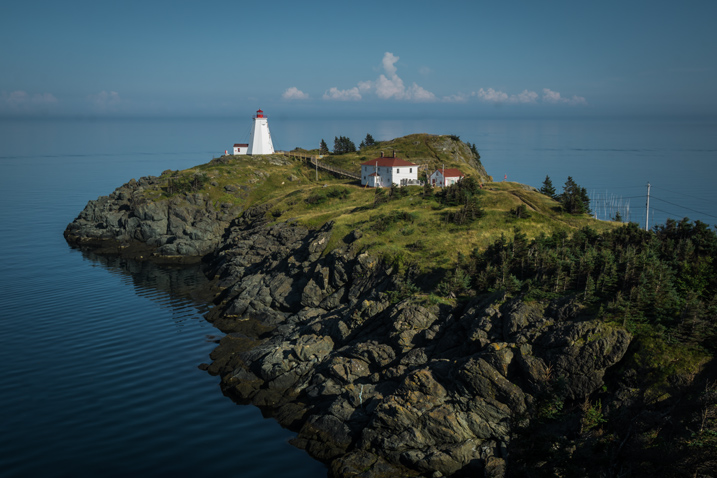
Natural style preset applied.
Even though I liked the style, the image did not look good at all, because it was too dark, with deep shadows in the background. This is when the second level of editing came into play.
From the TOOLKIT adjustment presets collection, I applied the following presets:
- 01.Exposure +
- 09.Open Shadow +++
- 16.Clarity +
- 20. Vibrance ++
Below is the final result. It took me five clicks to go from the original unprocessed RAW image to the final edit.
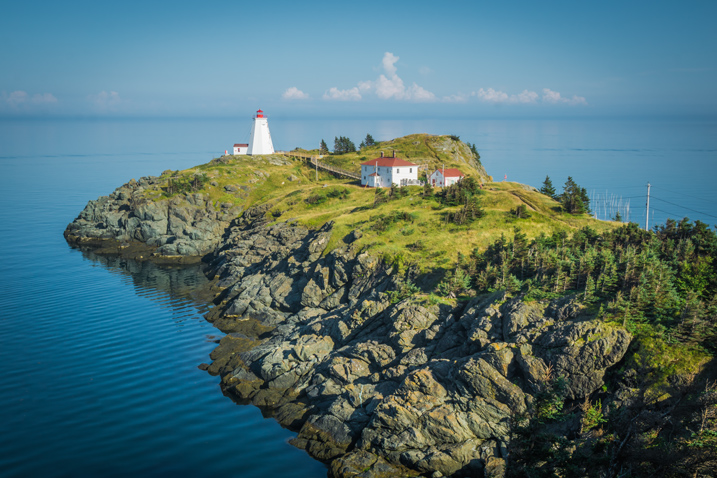
The next step was to come up with a more creative style for this particular photograph. I used the two-level Lightroom Rapid Editing process to produce three more creative versions.
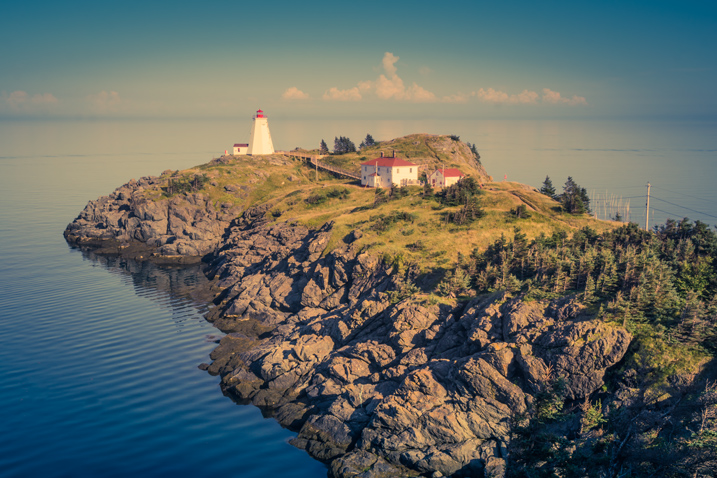
Preset: Broken Clouds
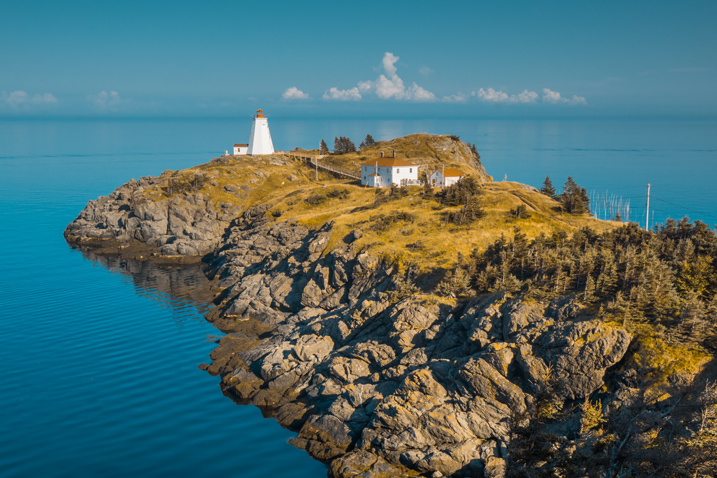
Preset: Drought
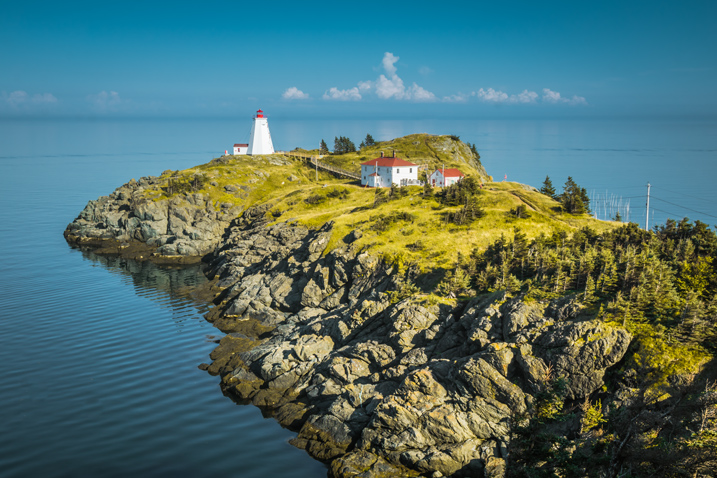
Preset: Point Lobos
During the next step, I selected the edited version I liked the best. In this particular case, I chose the image with the Point Lobos preset effect. I then used the SYNC SETTINGS functionality of Lightroom, to synchronize the editing settings with the rest of the flagged photos (the other nine keepers).
In the last step, I went through the photos one more time, using only the TOOLKIT, and focused on each photo individually. At this stage, I mostly adjusted the Exposure and Open Shadow to compensate for different lighting conditions and exposure imperfections (underexposure and overexposure). This process typically does not take long – an average of 10-15 seconds per photo.
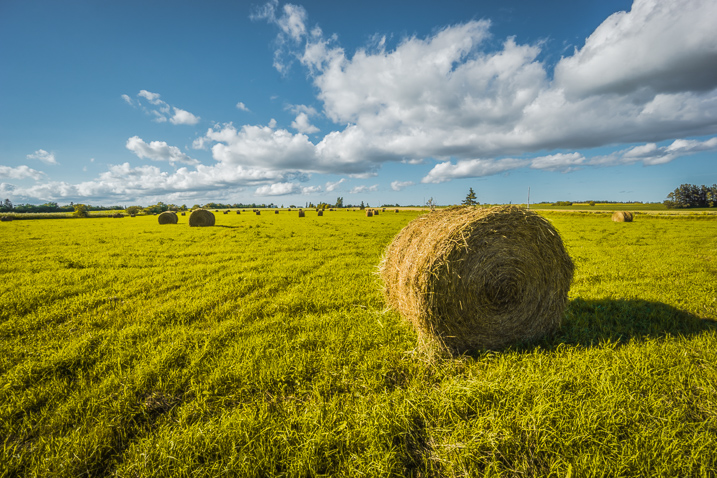
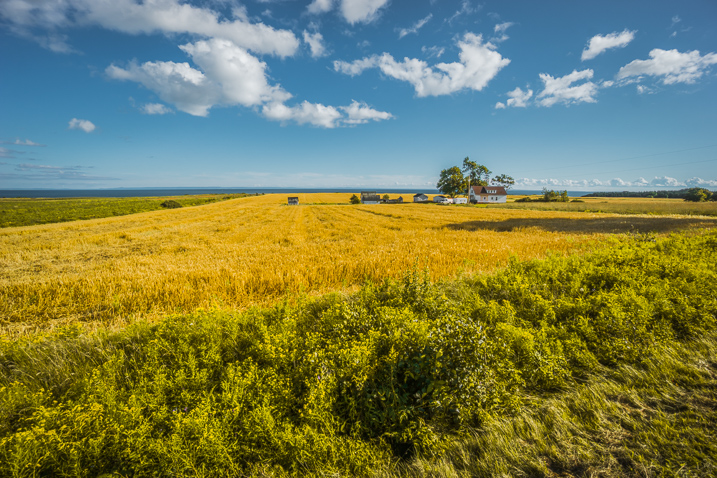
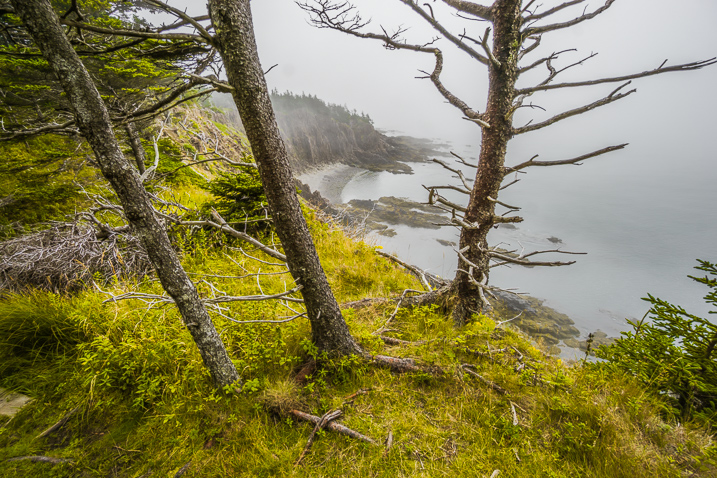
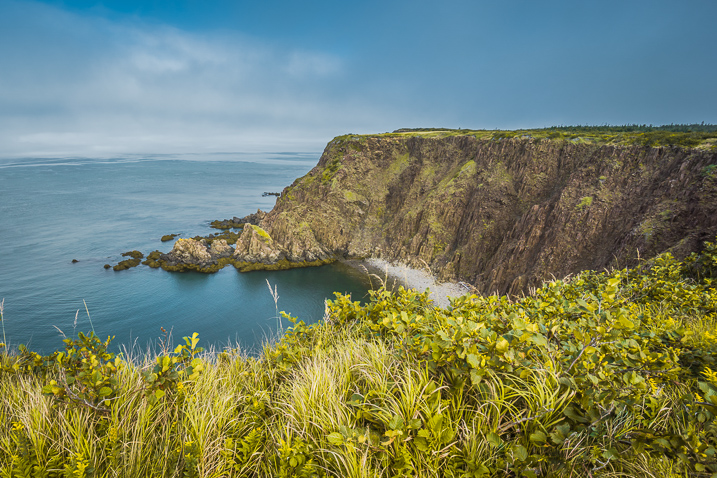
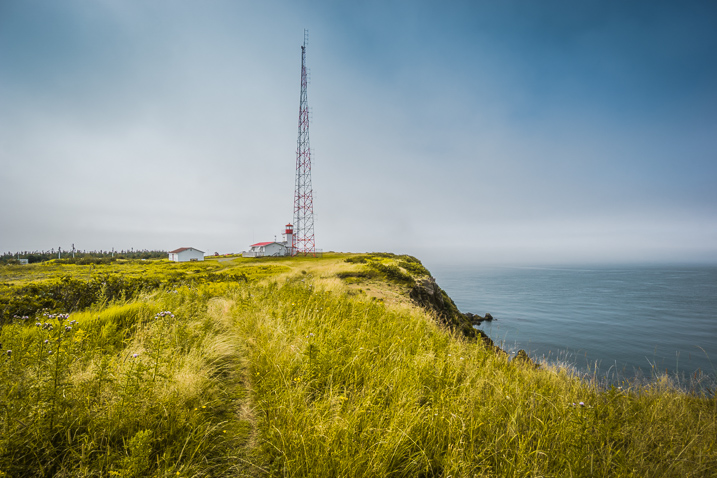
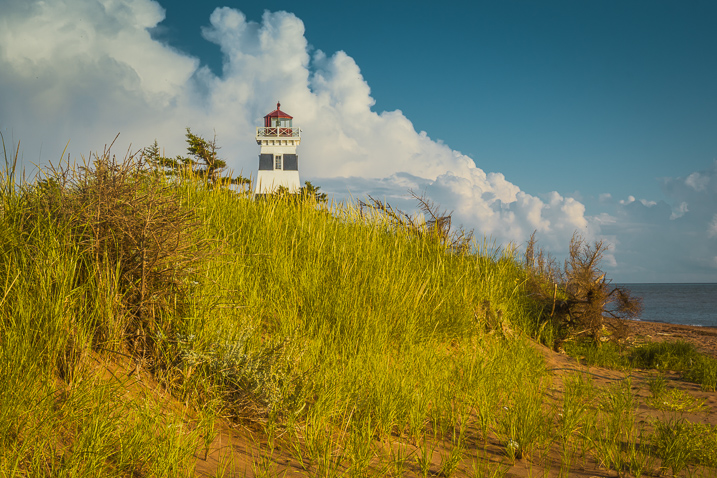
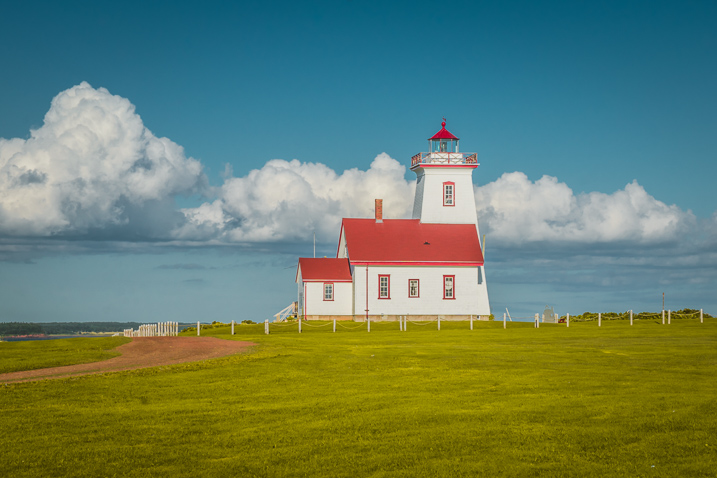
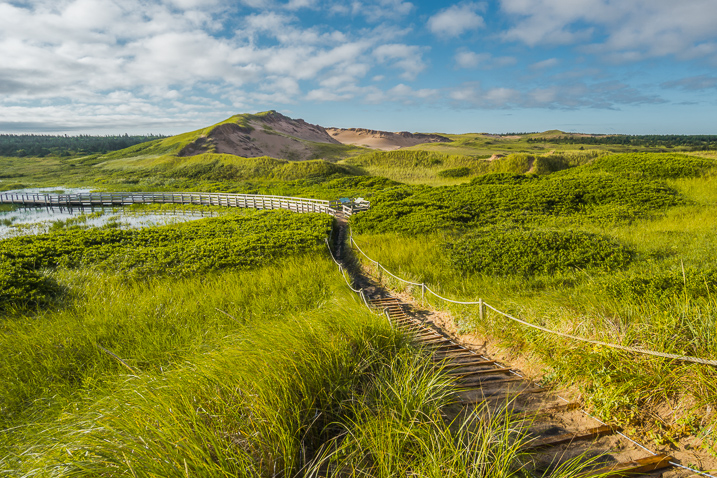
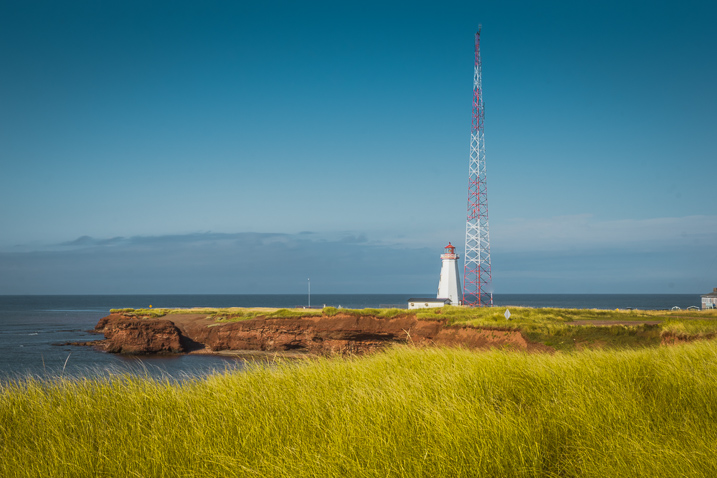
At this point, I was finished with Rapid Editing. I managed to complete 80-90% of the editing process without touching any of the Lightroom editing tools. As you can see, Lightroom Rapid Editing allows me to process a high volume of photos in a relatively short amount of time, while also giving the photos a similar look and feel, that makes the set distinguished and unique.
After this two-level editing process, it was then time to perform the last 10-20% of editing that cannot be automated.
Depending on the image, I might open it in Photoshop for selective editing. In most cases, I clean the images by removing distracting elements from the composition (electric wires, debris). Another option I often use is Lightroom Adjustment Brushes for selective editing.
Publishing
The very last step of my workflow is publishing. I use the plugin functionality of Lightroom to synchronize my newly created photos with my cloud portfolio on SmugMug. With SmugMug cloud service, I have access to all my photos at full resolution, and 100% quality anytime and anywhere.
One of my favorite features of SmugMug is the ability to create custom sized images on the fly by manually changing an image URL, without using any editing tools.
Conclusion
What I learned after designing my photo editing workflow is that there is no perfect solution for travel photography that fits every photographer. Any system we put in place is in a constant state of fluctuation, and all we can do is keep adjusting it based on the type of photography and our individual habits and routines.
Do you have a workflow you’d like to share with us? Please do so in the comments section below.
If you found this helpful, get Viktor’s Lightroom Rapid Editing System for Travel Photography Course 50% off now at SnapnDeals for a limited time only – February 9th-23rd, 2016.
The post Photo Editing Workflow for Travel Photography by Viktor Elizarov appeared first on Digital Photography School.